Illustrating a vignette in Procreate
A walk through on how I illustrate a vignette In Procreate for my children’s book portfolio.
DRAWING A VIGNETTE IN PROCREATE
When I illustrated my last two books I used quite a lot of vignettes (sadly I can’t show them yet). I love how they offer a glimpse into a scene, giving just enough background detail without needing to fill an entire page. They’re perfect for adding context without going all out with a full illustration. Vignettes are great for showing a sequence of events or how time passes, which is why they’re so common in children’s books.
Since I’m building my portfolio for children’s book illustration, I knew I had to include them! I also thought about adding a spot illustration to show what happens next in the story, but maybe that’s for another project. Let me show you how I created this vignette in Procreate.
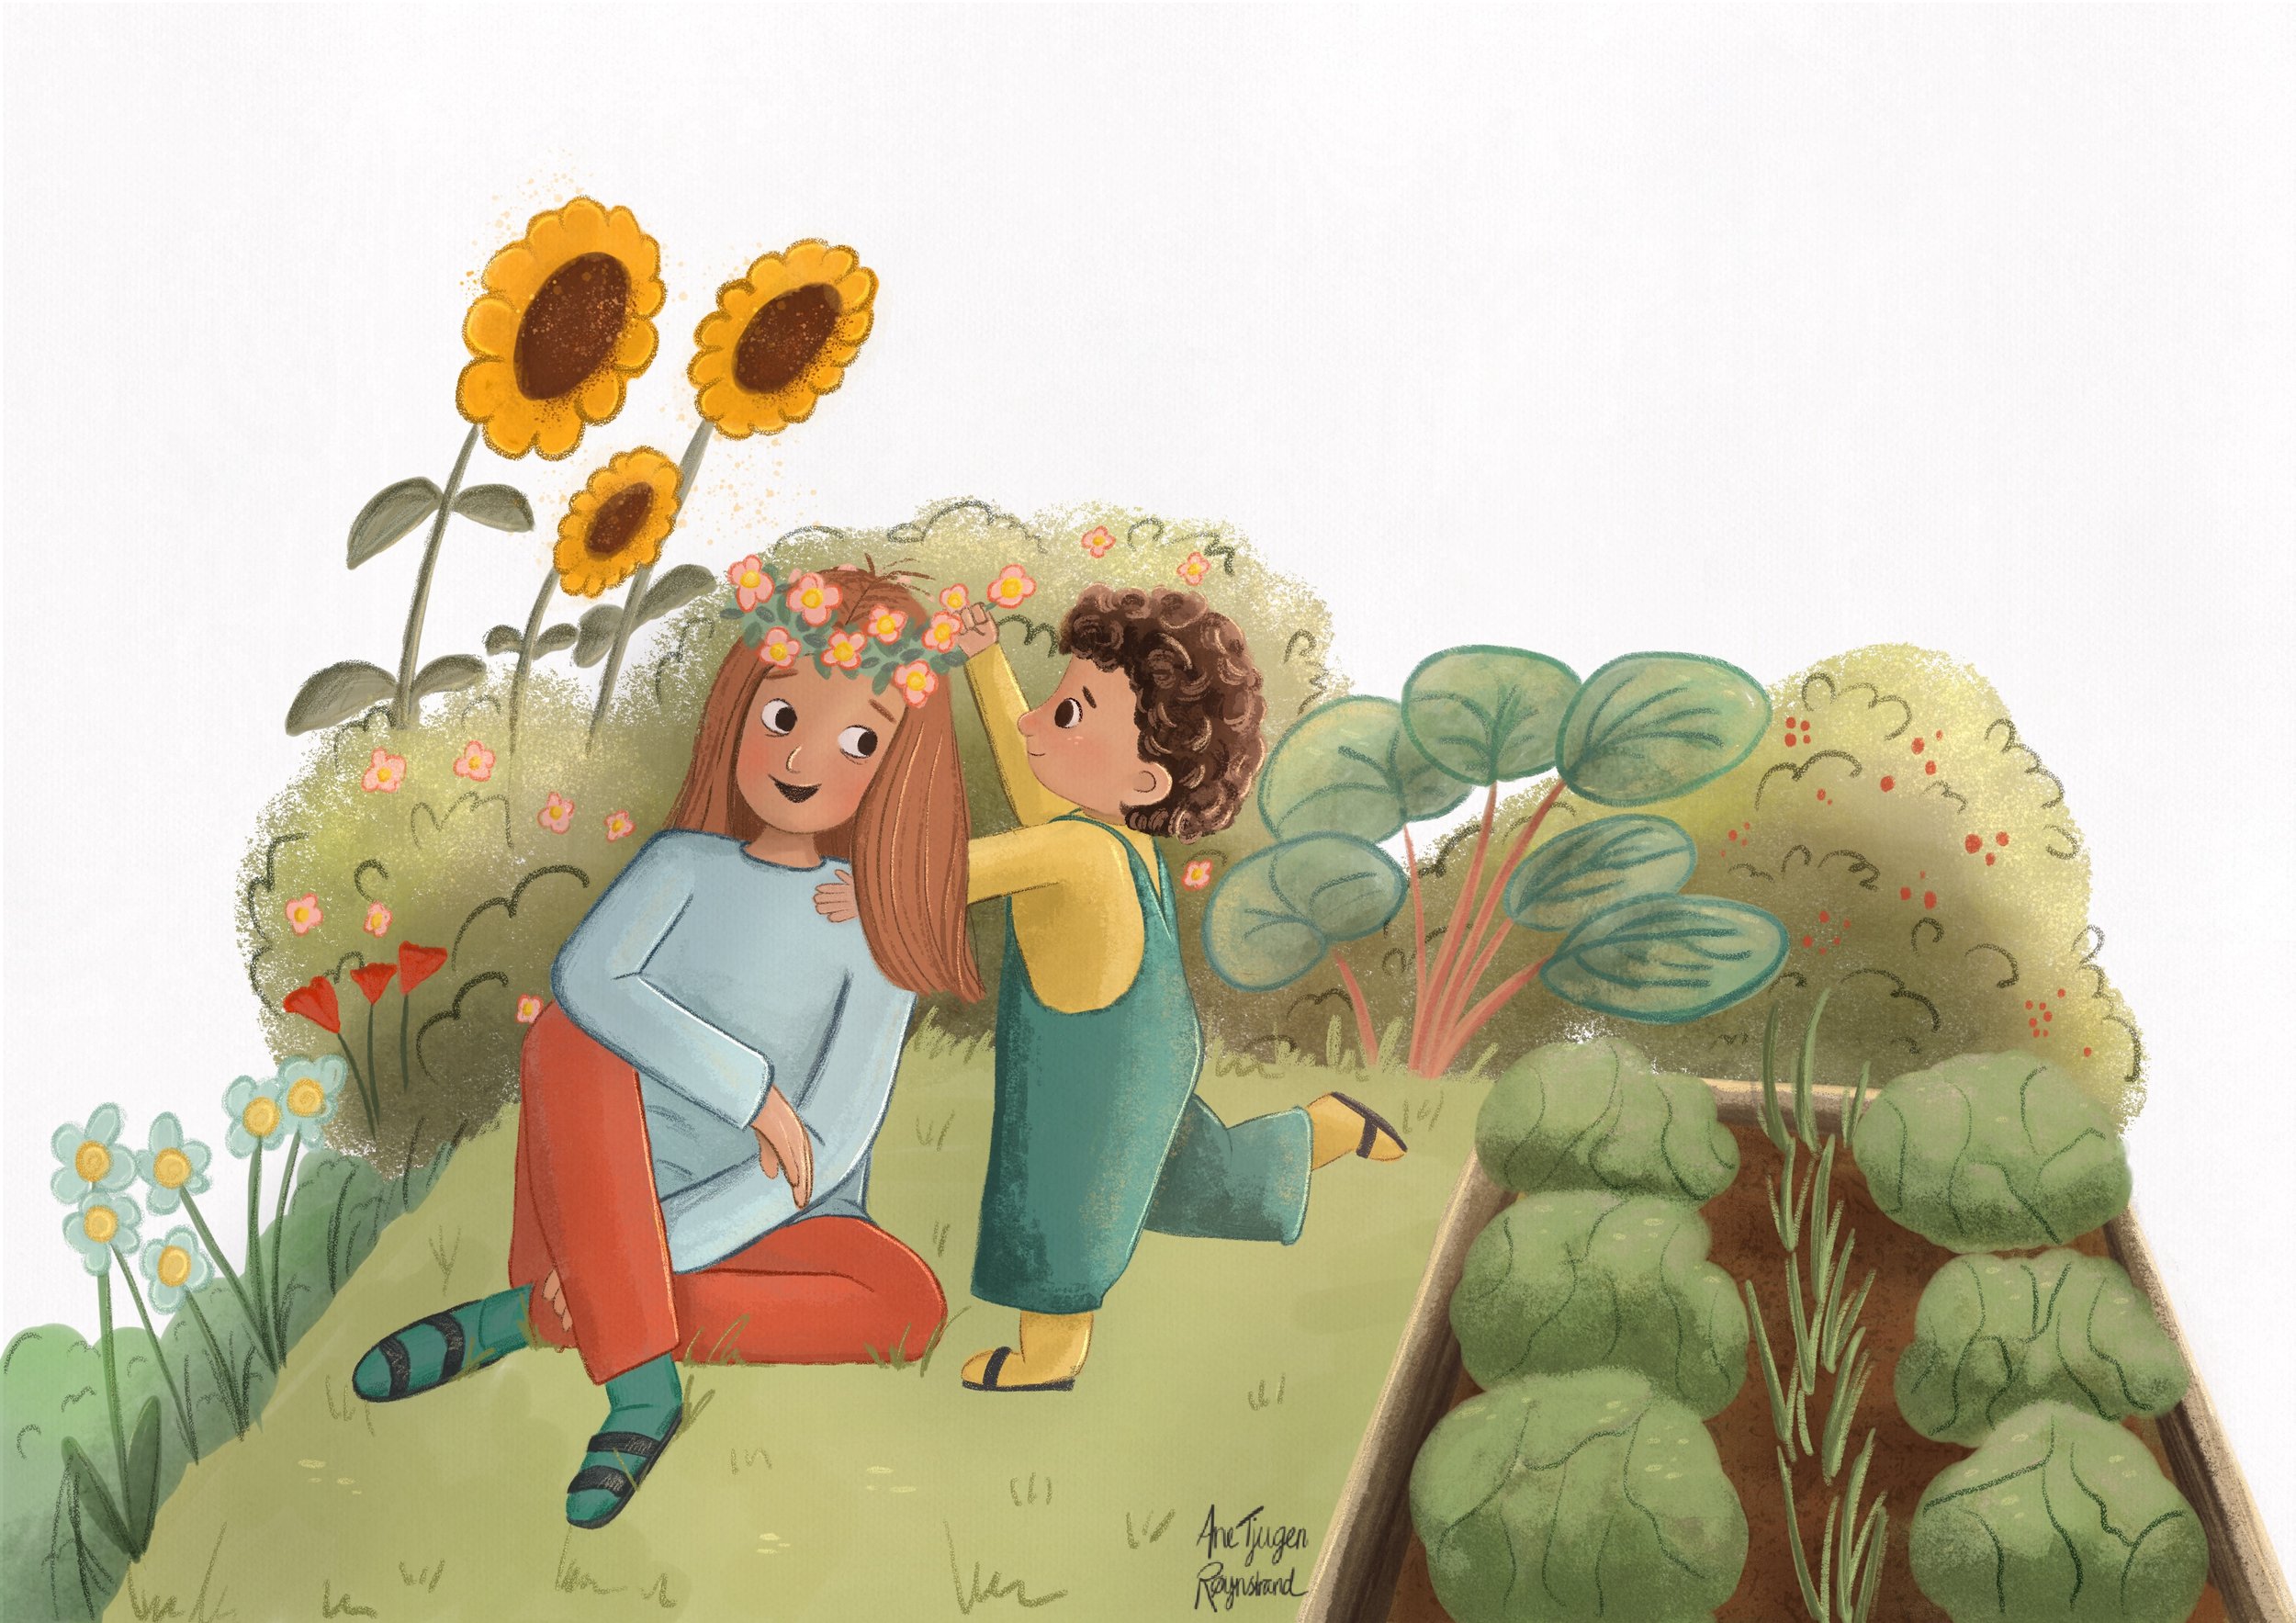
Here’s the finished illustration! I planned it to be placed near the bottom edge of a page, but it could easily be adjusted to fit in the center, leaving plenty of space for text both above and below.
My process:
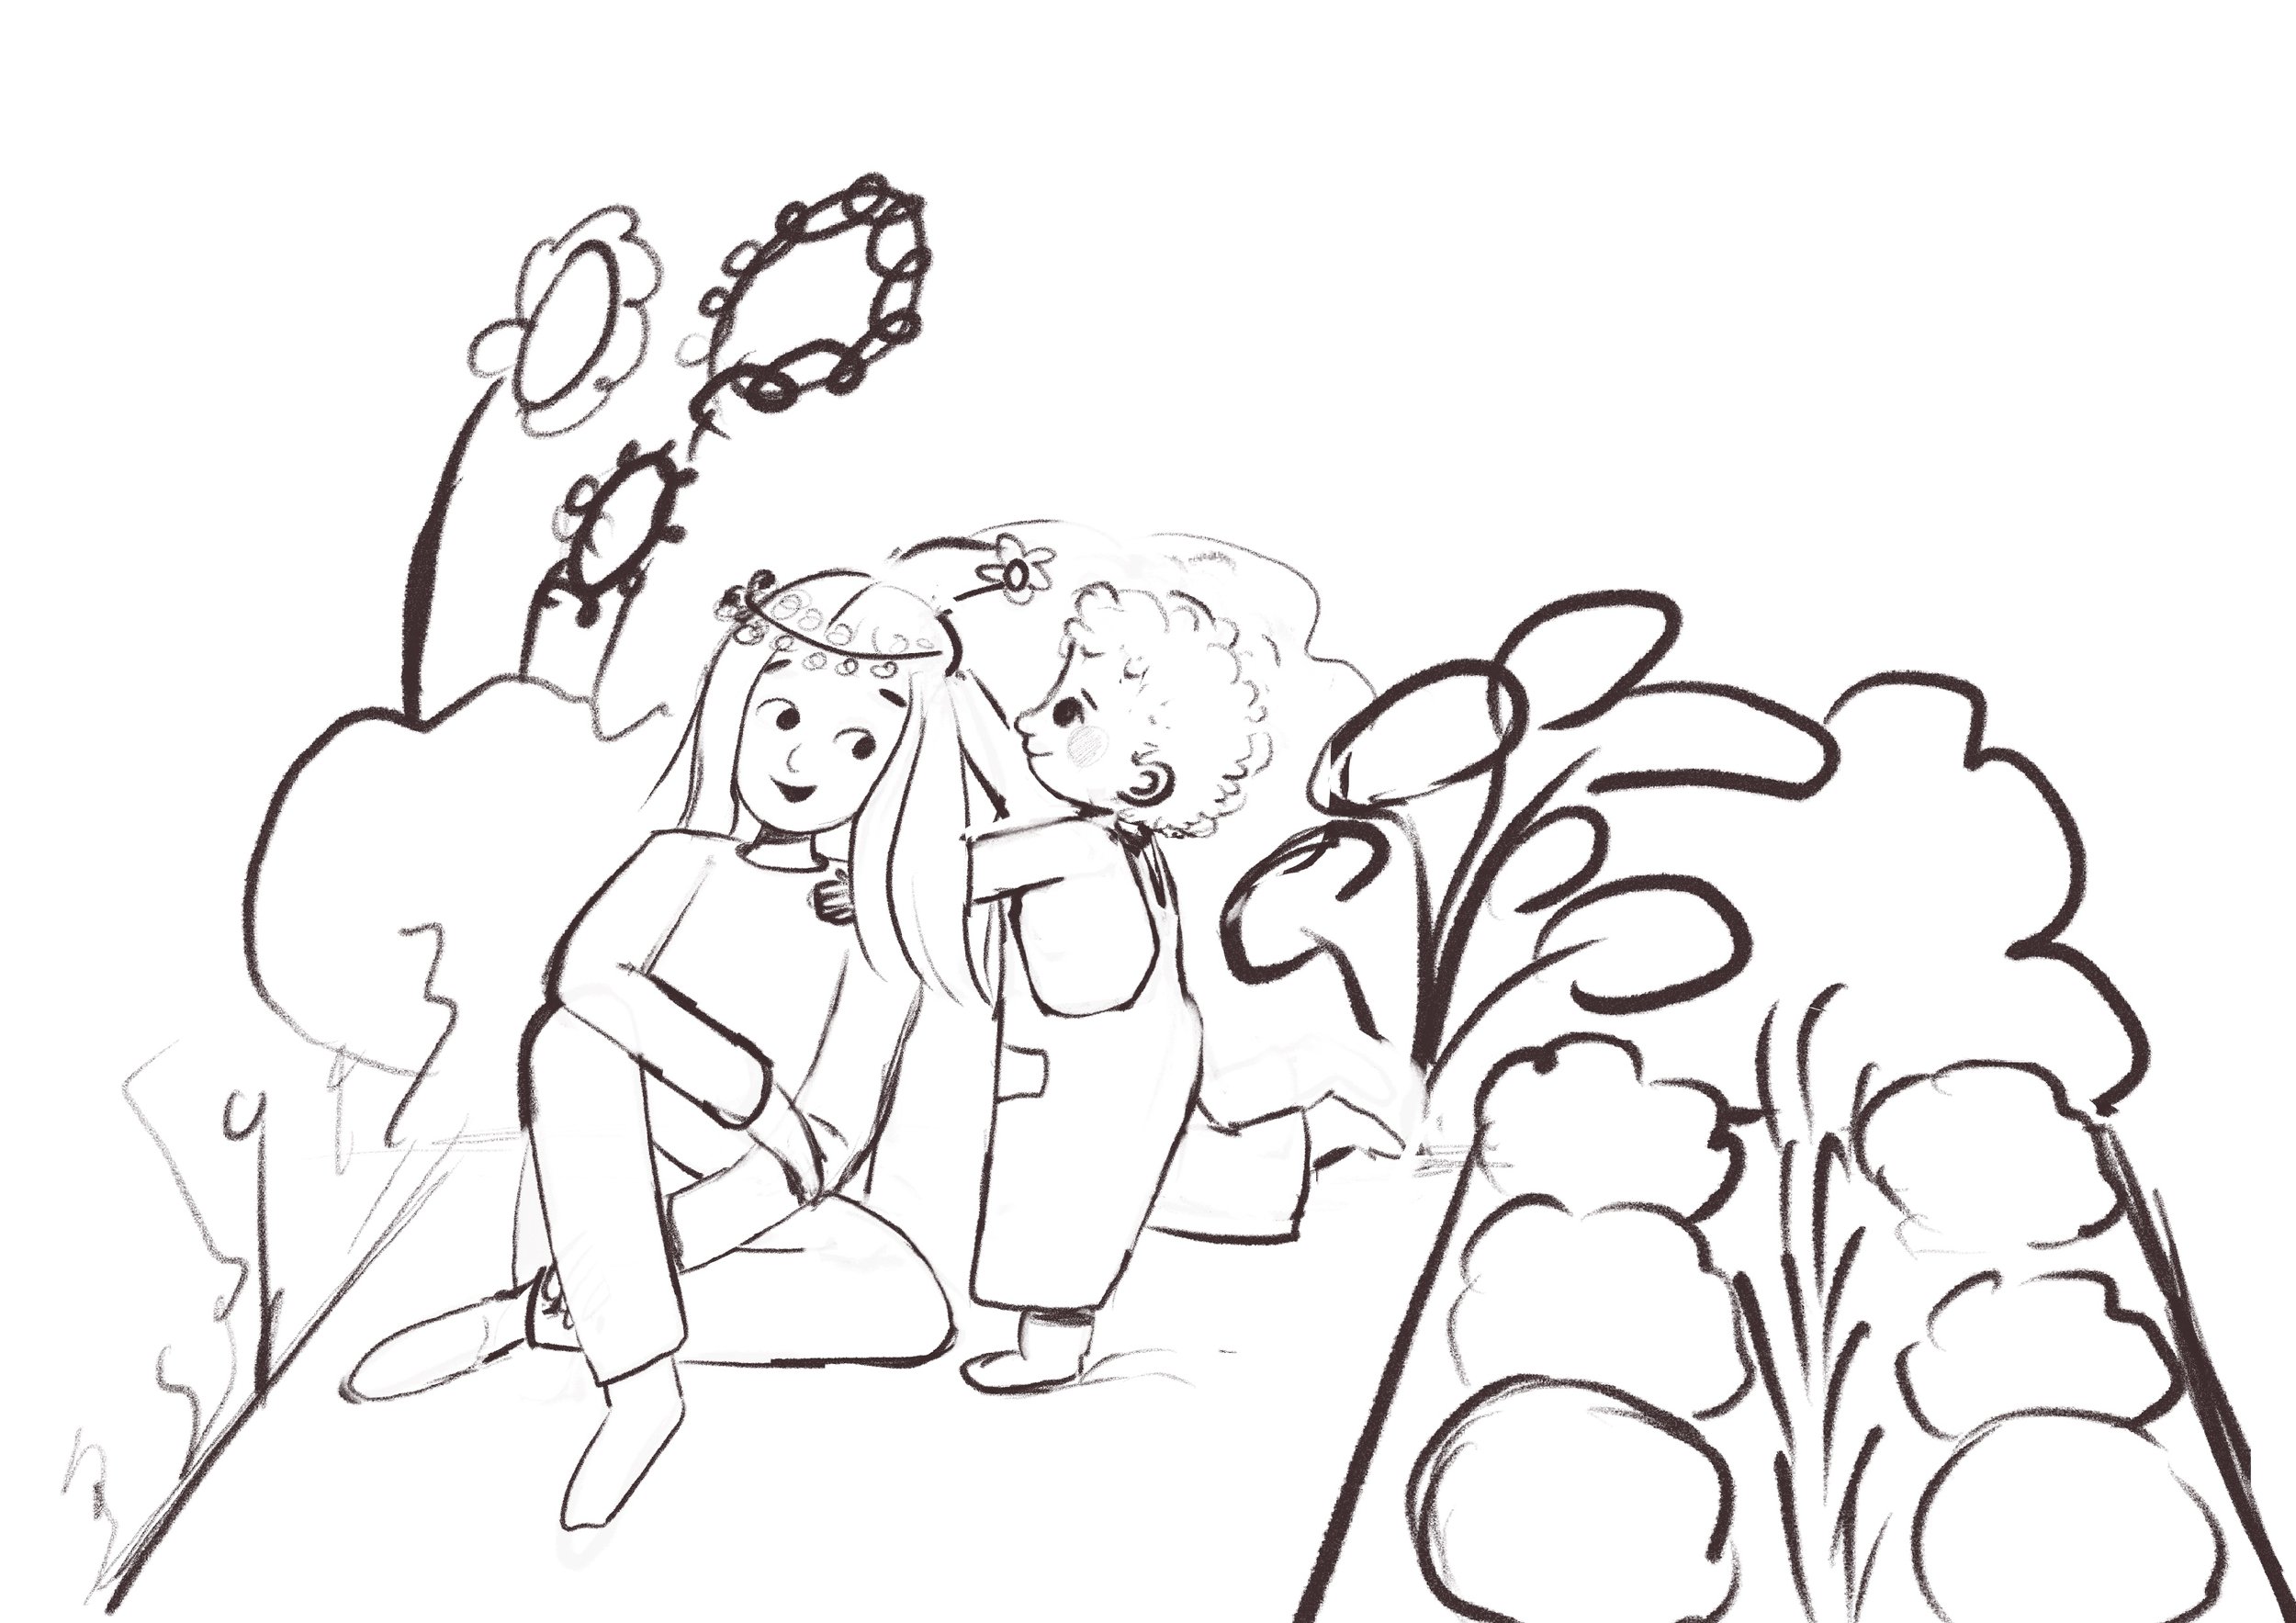
As always I start with a sketch, and that is the most important step when I illustrate. I am not very confident in drawing both adults and children in the same illustration, but I am getting there.
Once the sketch is finished, I usually start by laying down the base colors of each element on separate layers. Then I add texture, shadows, and lighting. Lately, I've been experimenting with a more painterly style, trying to incorporate more texture while coloring the elements, and I really like the effect it creates. I'm still undecided about the colors of the final piece, but they’re starting to grow on me. Finally, I add a textured canvas—this time, I used a free one from Lucy Fleming. You can download it here.
Here’s the timelapse of the illustration process. I challenged myself with the boy’s hair this time—it’s my first attempt at drawing short, curly hair. I hope you like it!
Happy illustrating!
- Ane


